


Price :
QTY :
CART TOTALS :
There are items
in your cart
CART TOTALS :
With this products also buy:
Your shopping bag is empty
Go to the shop
Choose your gauge, preview the themes and save the matching update to your phone.


Pitch and roll in degrees for the 1.46″ Round gauge. Uses the built-in motion sensor and can be tested while parked without a reader connected.
Download V3.22 Inclinometer .binSave the .bin to your phone and install it via the gauge’s Wi-Fi setup page. Then mount the gauge square to the car, park on level ground and open More Settings → Inclinometer → Set Level.
Sample readings.

New read-only fault-code reader. Includes Retro Unit and all the V3.20 themes.
Download V3.21 Fault Codes .binTry it: Park with the ignition on and connect your Vgate reader. On the gauge, long-press, open More Settings → Fault Codes, then tap Read Codes.
Sample stored codes shown for illustration.

For the USB recovery patch or Arduino files, contact SmartGauge support.
These themes are built into this model’s firmware. After updating, choose your design on the gauge. Tap an image for a larger preview.
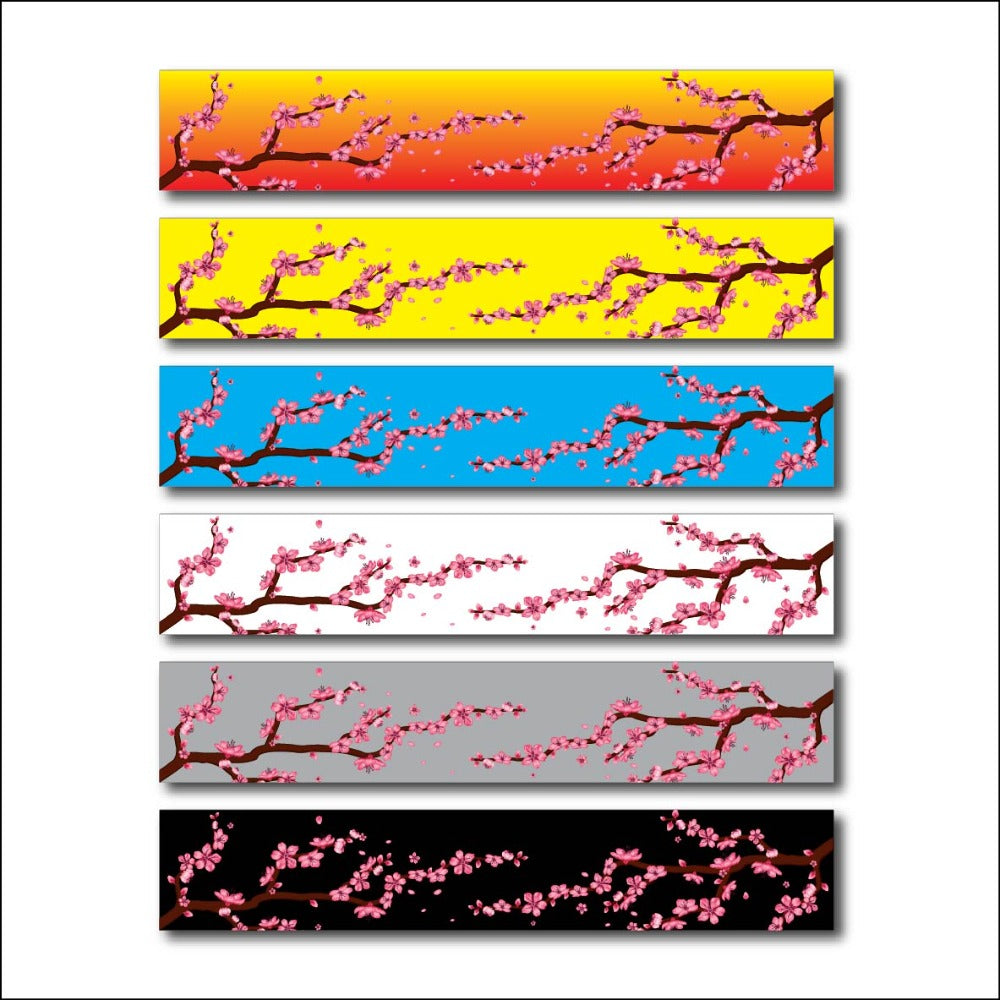
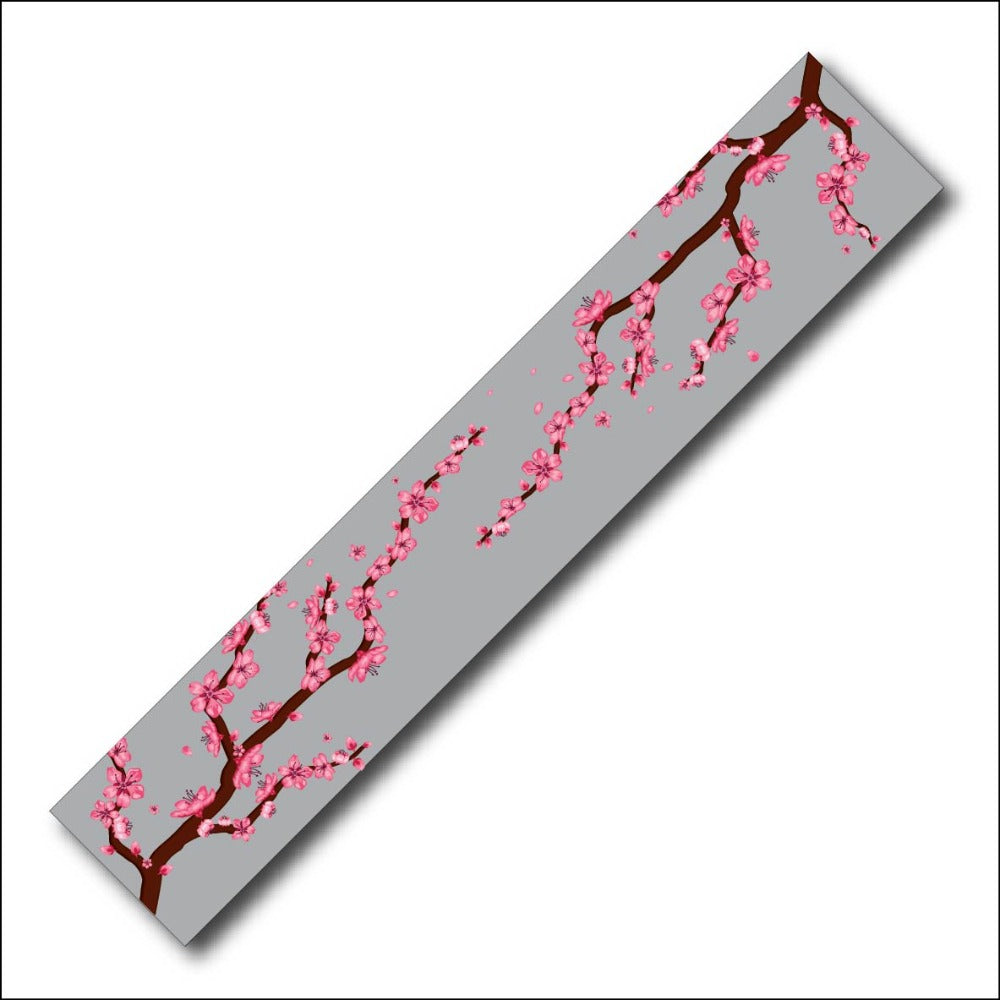
Retro Unit Sakura Night
 Red Seal
 Turbo Era
 Winter Circuit
 Ghost Flame
 Kitsune Boost
 Street Panda
 Koi Flow
 Dragon Circuit
 Volt Unit
On a gauge that lacks the SmartGauge OTA layout, install the matching Arduino source over USB first.
Improves Vgate BLE discovery, retries the connection, and restores the adapter setup used by the Halloween build.
Download Patch 3 Vgate .binSave the file to your phone while online. Then enter Support & Updates on the gauge, join its hotspot, and upload the .bin at 192.168.4.1. With the ignition on and other OBD apps closed, choose Find Vgate. Check that live RPM appears.
Includes updated 3.5″ themes and the Support & Startup patch with a recovery screen if the hotspot fails.
Download previous Patch 2 .binFor the USB recovery patch or Arduino files, contact SmartGauge support.
These themes are built into this model’s firmware. After updating, choose your design on the gauge. Tap an image for a larger preview.
Download Patch 3 Vgate .binUse Wi‑Fi upload once the hotspot and its update page open. If the radio fails, install the Support & Startup Patch over USB.
Join the gauge hotspot and open 192.168.4.1. Save the available support report (.txt) or recent readings (.csv).
Reconnect to the internet, attach the export in your mail app and include your gauge model, OBD reader model and a short description of the issue.
Email a reader report